Slightly Gay Moments
30. September 2008 - 9:00
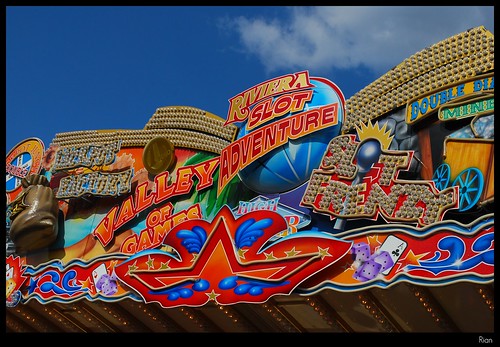
Finally, Canstatter Wasen has started again. I love the rides and the good food, but I also appreciate the nice colors at the festival.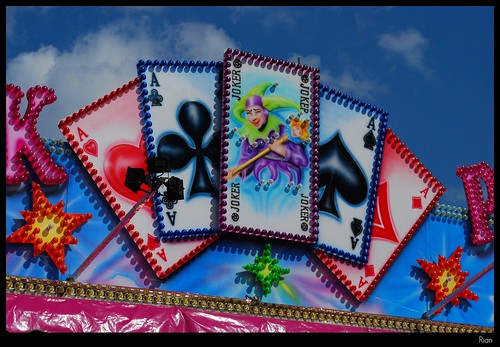
For a change no HDR images. I've bored you with HDR images enough. In fact, these images haven't been changed on my computer at all (except adding the black border).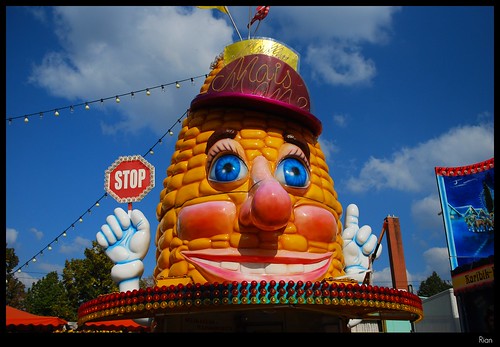
 Since I got some e-mails and instant messages about my HDR images, I've decided to write a short tutorial for absolute Newbies. Anyway, seems like there are some readers of my blog...
Warning: HDR is harmfully addictive!
First Step: Software
Get yourself a HDR Software. There are many different programs out there in the wild. But since I use and adore Linux, I was limited in my choices somehow. I use Qtpfsgui, which is freely available for Windows, Mac and of course Linux. The results of my first few attempts were quite disappointing. But now I know the reason:
I didn't have this handy guide ... ;-)
Second Step: Source ImagesMaybe even more important than a decent software are good pictures to start with.
Don't: In most tutorials, you can read that you need to take 3 to 7 pictures, i.e. one correctly exposed, one (to three) underexposed, and one (to three) overexposed. Some cameras can do that automatically ("exposure bracketing") . But, in fact, you need a tripod, and even then, people or things do move a little bit, which forces you to stitch your images (if you ever need to do it, use hugin).
Do: I'm using just a single image. The secret is, you need to take a RAW image. Most digital cameras can write RAW images. Usually the camera processes the data from the image sensor and saves a jpg. In this step, the camera applies white balance, some sharpening algorithms, exposure corrections and all that stuff. In a RAW file, you have the "real" data, without any corrections. The advantage of a RAW image over another format is, that it contains more color depth and more dynamic range. And aren't HDR (high dynamic range) pictures all about dynamic range?!
So, my advice: Set your camera to save the images as RAW and use just a single RAW image. Let's use this picture for our little workshop. As you can see, it's a bad image. Almost no details in the dark parts. But I underexposed it like that on purpose. I wanted to capture the structure of the clouds. The software is quite good in correcting underexposed parts (like the buildings), but an overexposed sky would lose it's structure and would be a plain white area. Not exactly what we want, am I right?
Step 3: Setting up your Software
Before you start, change one setting in Qtpfsgui. This will save you a lot of time and frustration. Go to the options and add a -w (or -a) to the raw convertion parameters. Without that, your images will have a mean color cast. Step 4: Create the HDR (finally)
Click on "New Hdr..." Then, click on "Load Images", and select your RAW image. Remember, most people use three to seven images here, but we only use one, our RAW image. Efficient, huh?
 Just click on "Next >", and then "Finish". The default settings should be good enough for us. After a little while, we can see our new HDR image (see picture below). But that's not what we expected, right? Usually you use tonemapping on your HDR to get the images you probably know as HDR...
Step 5: Tonemapping
Click on "Tonemap the HDR" on the gui, which brings up our tonemapping window. Here you can use different Tonemapping algorithms (where I prefer "Fattal" most of the time).
Select the Tab labeled "Fattal", and press "Apply".
With the default settings(!), you should end up with an image like that: I usually play a bit with the sliders, you will learn quite fast what each one does, and how you need to push them, to get the results you want. Use a small image for this process, because it's generated much faster than a big one.
When everything is adjusted for a breathtaking image, switch to a higher resolution and generate the image.
Step 6: Save and say "Wow!"
If you have an image that fits your taste, use "Save as..." to save the tonemapped image. Now is the right time to be proud of your work. Show it to friends and impress them.
Step 7: Show me your art
If you created a HDR following this guide, I would highly appreciate your feedback, and also a link to your image. Show me your baby. ;-)
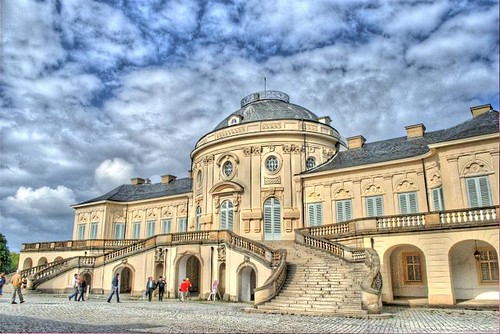
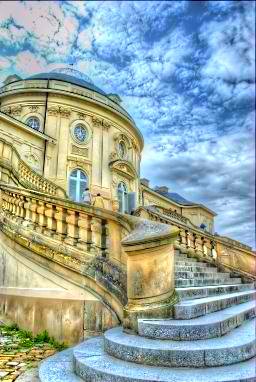
Yesterday I've been to Schloss Solitude in Stuttgart to take some pictures, together with Jim, who also likes to take pictures. I decided to make HDR images out of my shots. So here they are.
I've been playing around with taking HDR images for a while now. Time to share something here. I took it today at the Old Castle in Stuttgart. I like the effect that it doesn't really look like a picture, but rather like a paintbrush art or whatever ...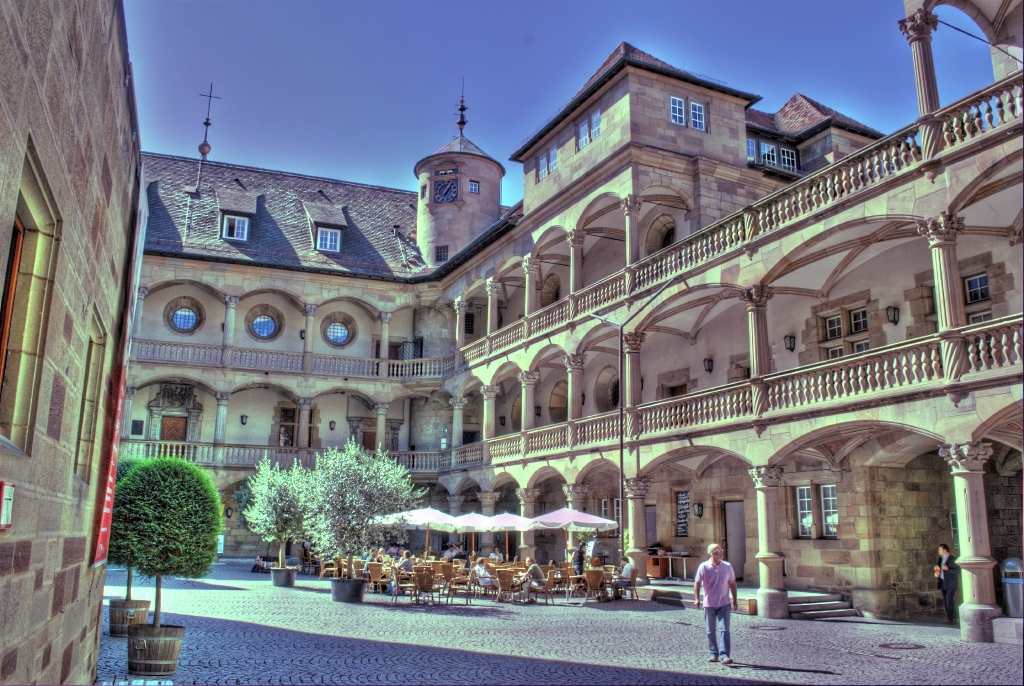
Why does it sometimes take a picture to realize, that your town has very beautyful places?
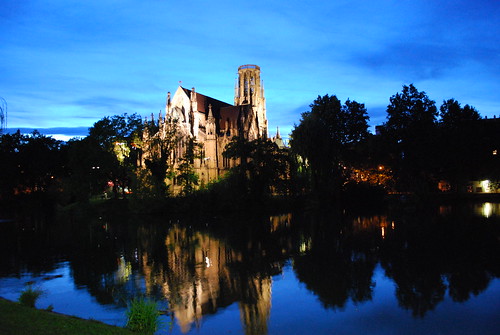
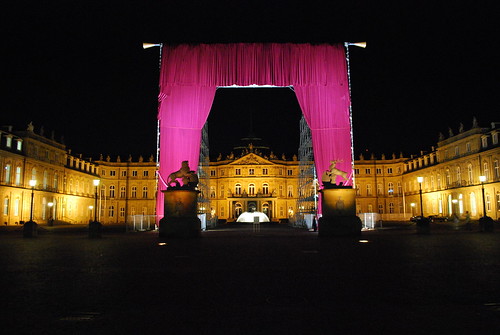
Yesterday I went to the New Castle, because I wanted to take some pictures at night. Unfortunately, something's blocking the view, what I didn't know before. Ok, so I got curious and wanted to know what it is. It's the world's largest curtain, and it will go to the Guinness Book of Records. Well, as if someone would be needing that. Maybe that's some compensation for our bad success at the Olympic Games this year.
Anyway, another unusual view of the New Castle...